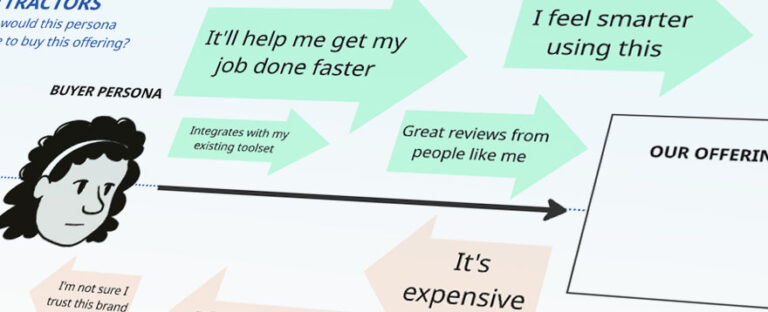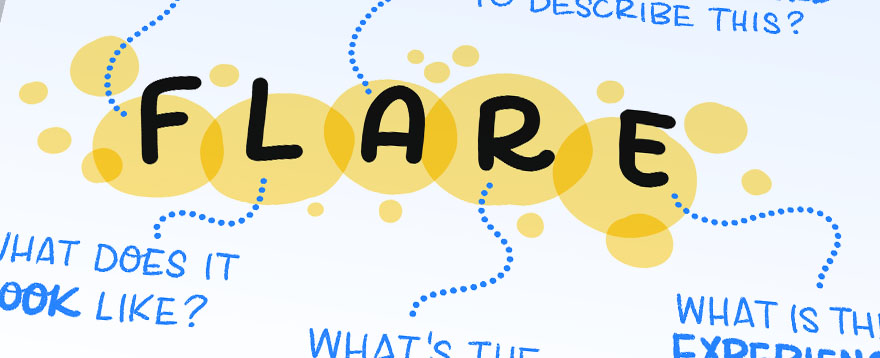
Draw more creatively with FLARE
If you want to find ways to draw topics more creatively, or you feel like you’re in a bit of a rut drawing things the same way all the time, then the FLARE prompts are for you. How do you draw a person? Or a building? Or a tree? There are lots of ways to […]